

Woodland · Timber pavilion kits
Installation & Site Preparation
Plan the work before your kit arrives.
Prepared in our shop. Ready for your carpenter.
Your posts, headers, knee braces, ridge beam, and rafters arrive precut, and your timber trusses arrive preassembled. Your carpenter sets and braces the posts, connects the framing, lifts the trusses, and installs the decking and roofing using our drawings and instructions. We make the kit straightforward for any carpenter to install, with phone support when questions come up.
| Before installation | Confirm with your team |
|---|---|
| Approved documents | Final dimensions, post placement, anchoring, and any required engineering. |
| Foundation readiness | Project-specific foundation design, placement, and readiness for assembly. |
| Equipment and access | Unloading and lifting equipment suited to component weights and site access. |
| Assembly plan | Crew, temporary bracing, installation instructions, and remaining field work. |
| Roofing and finishing | Supplied materials, separate fasteners, and any work assigned to your contractor. |
Watch the pavilion take shape.
See a Woodland pavilion come together, from the first posts to the finished ceiling. These photos give you a feel for the process; your kit comes with instructions for your own design.
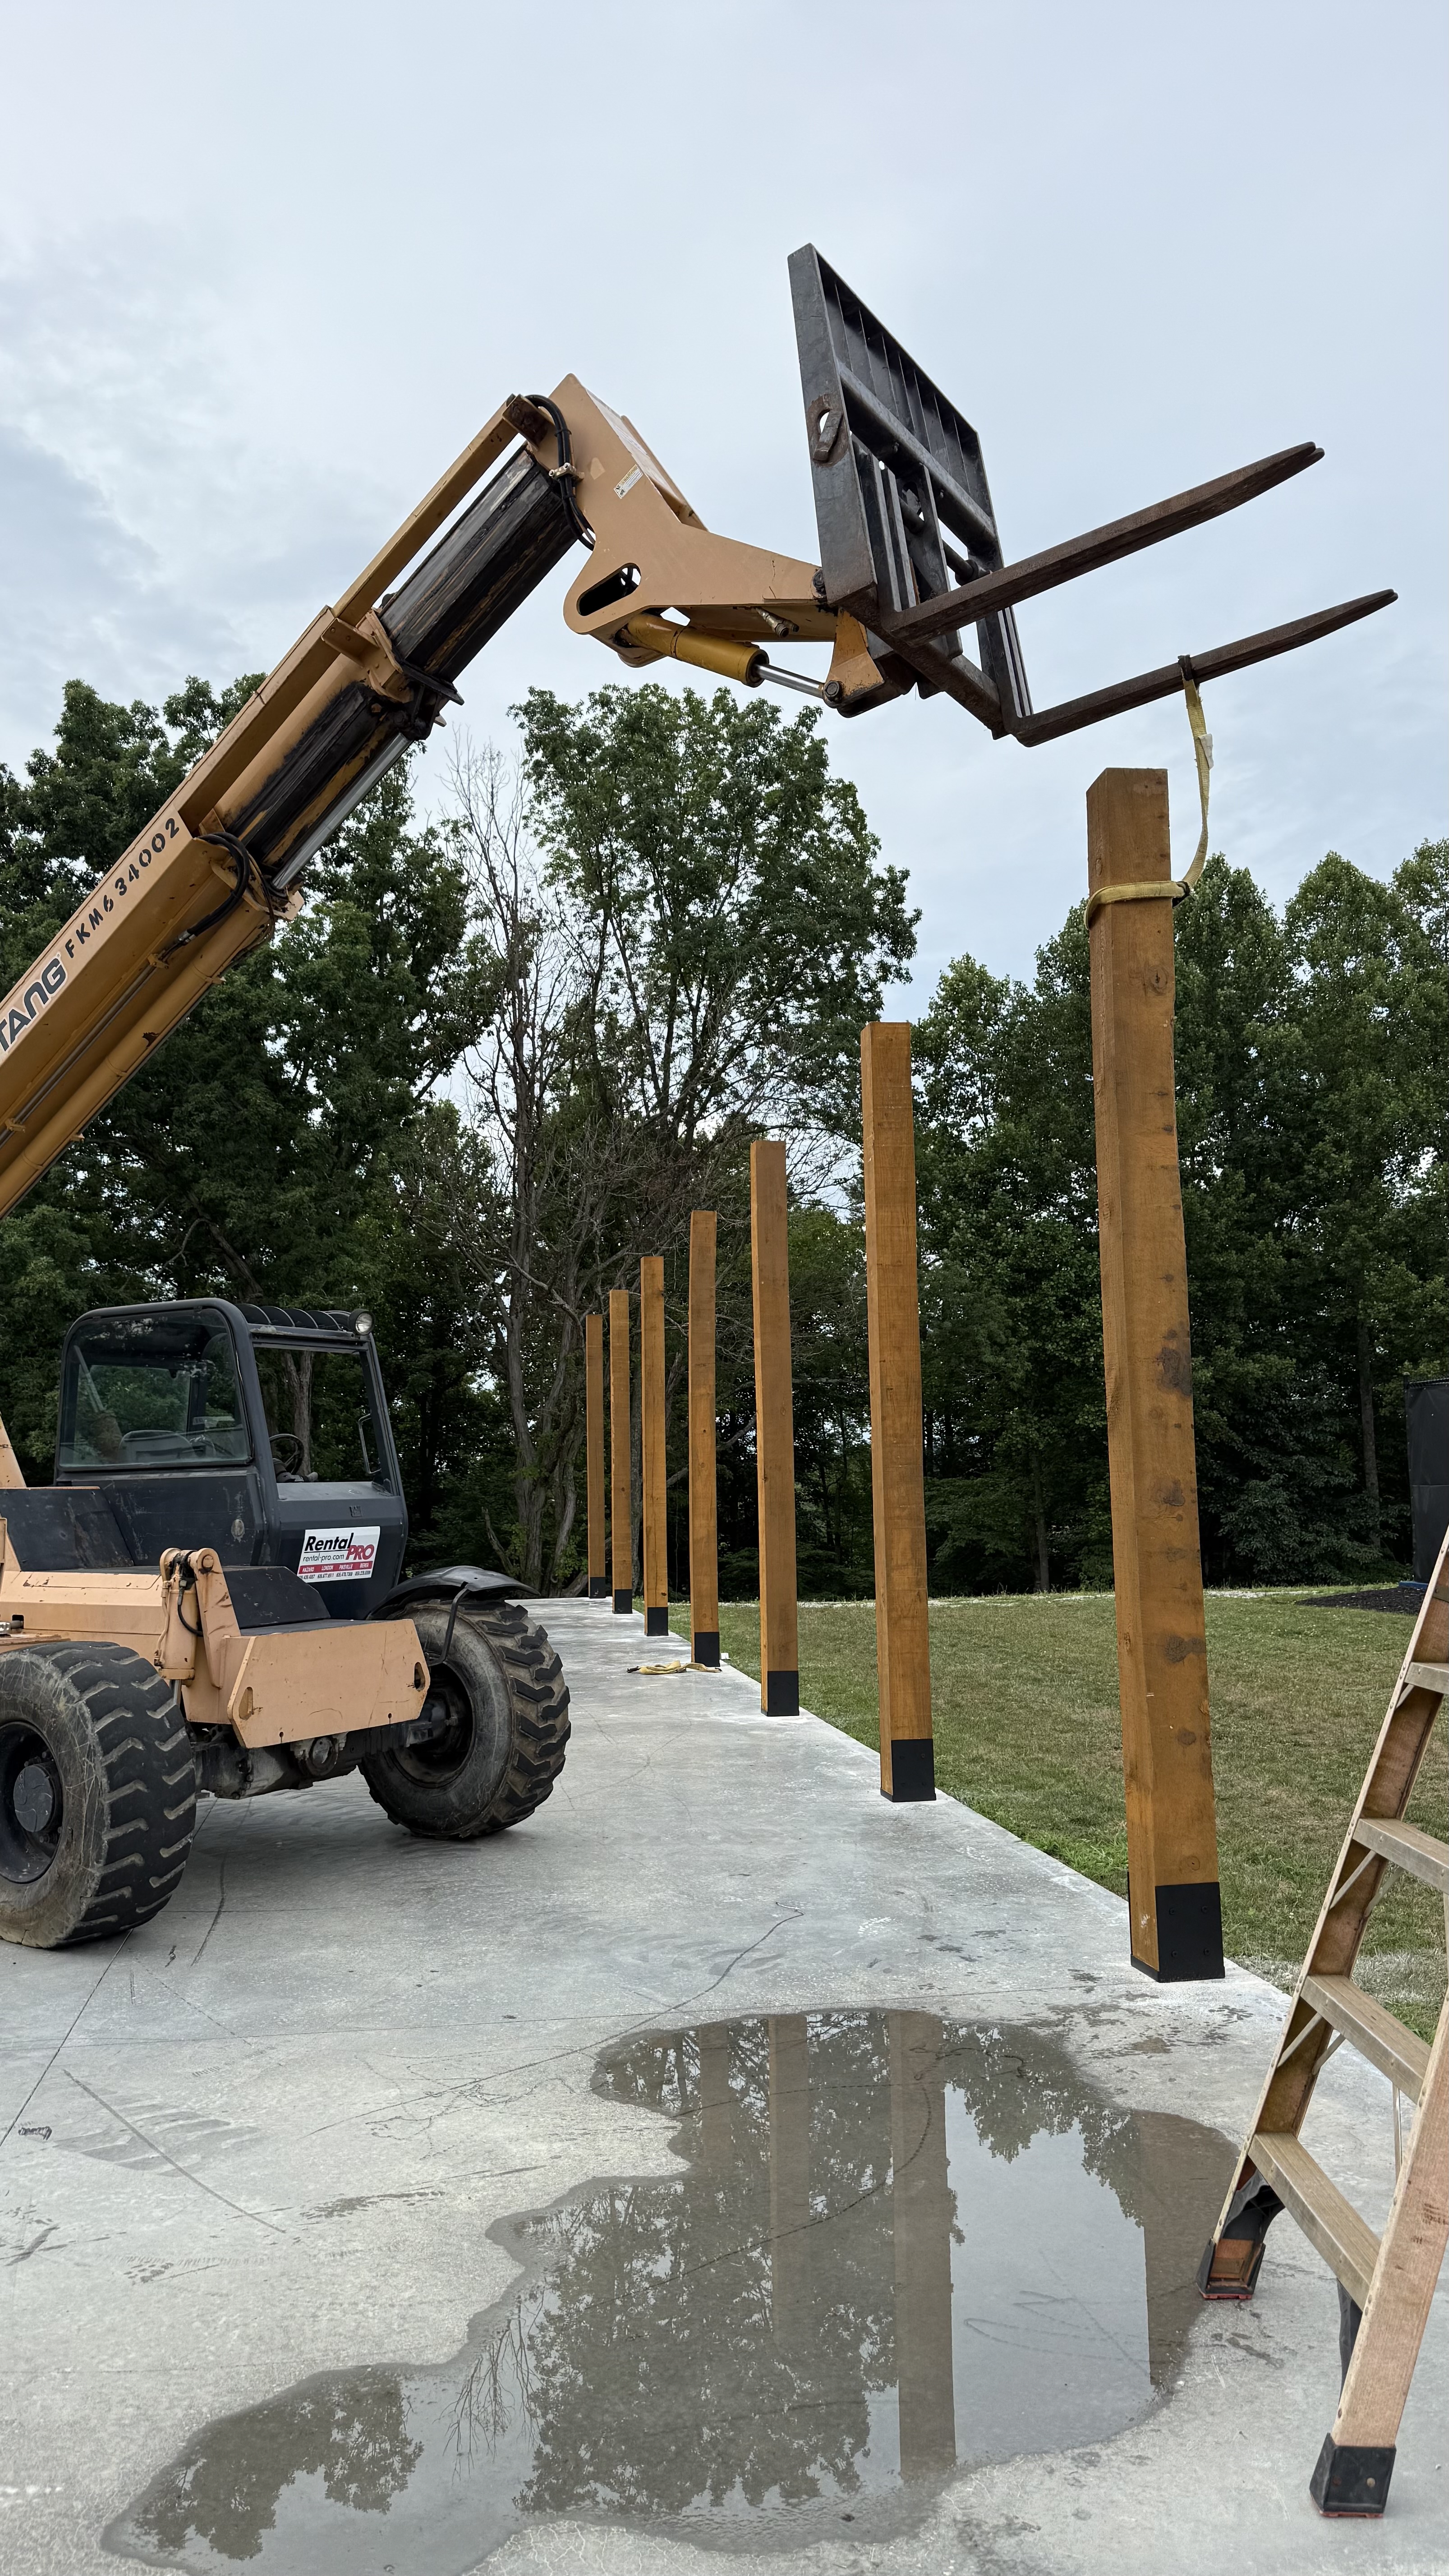
Positioning the posts
Posts are positioned at the prepared foundation. Your approved drawings determine placement and anchoring.
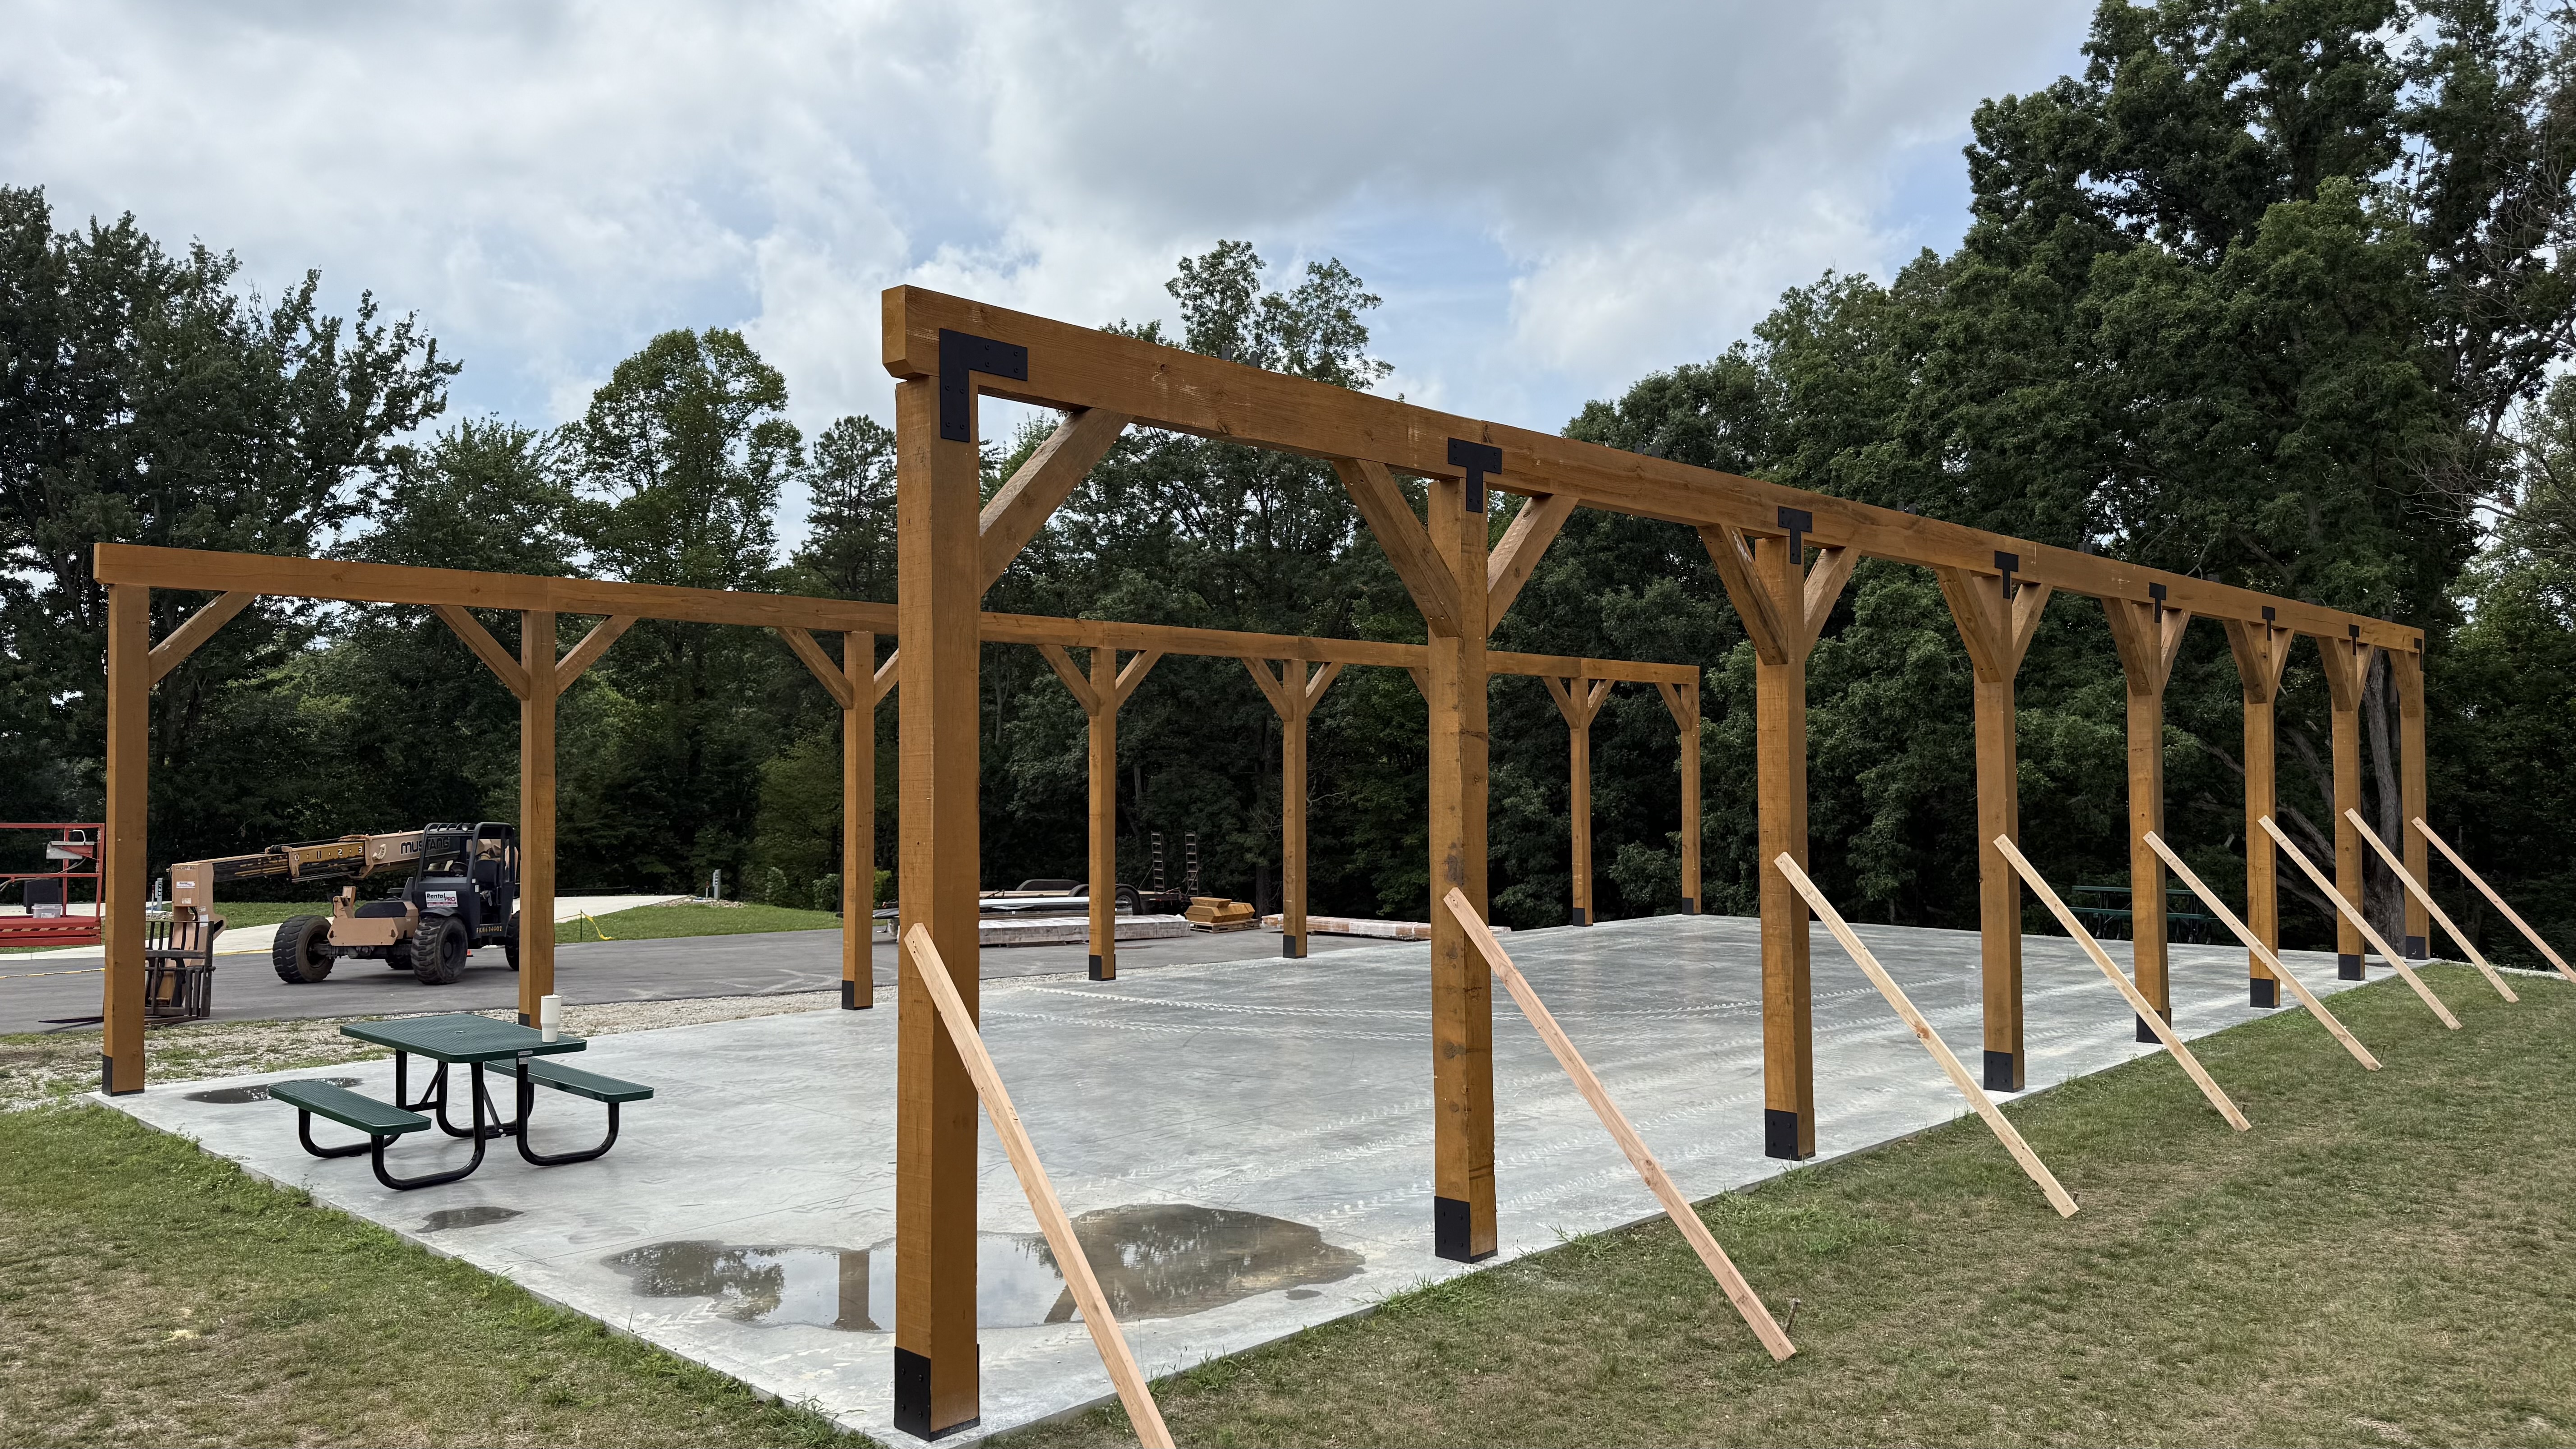
Posts, headers, and braces
The headers connect the posts, with knee braces and temporary supports visible during framing.
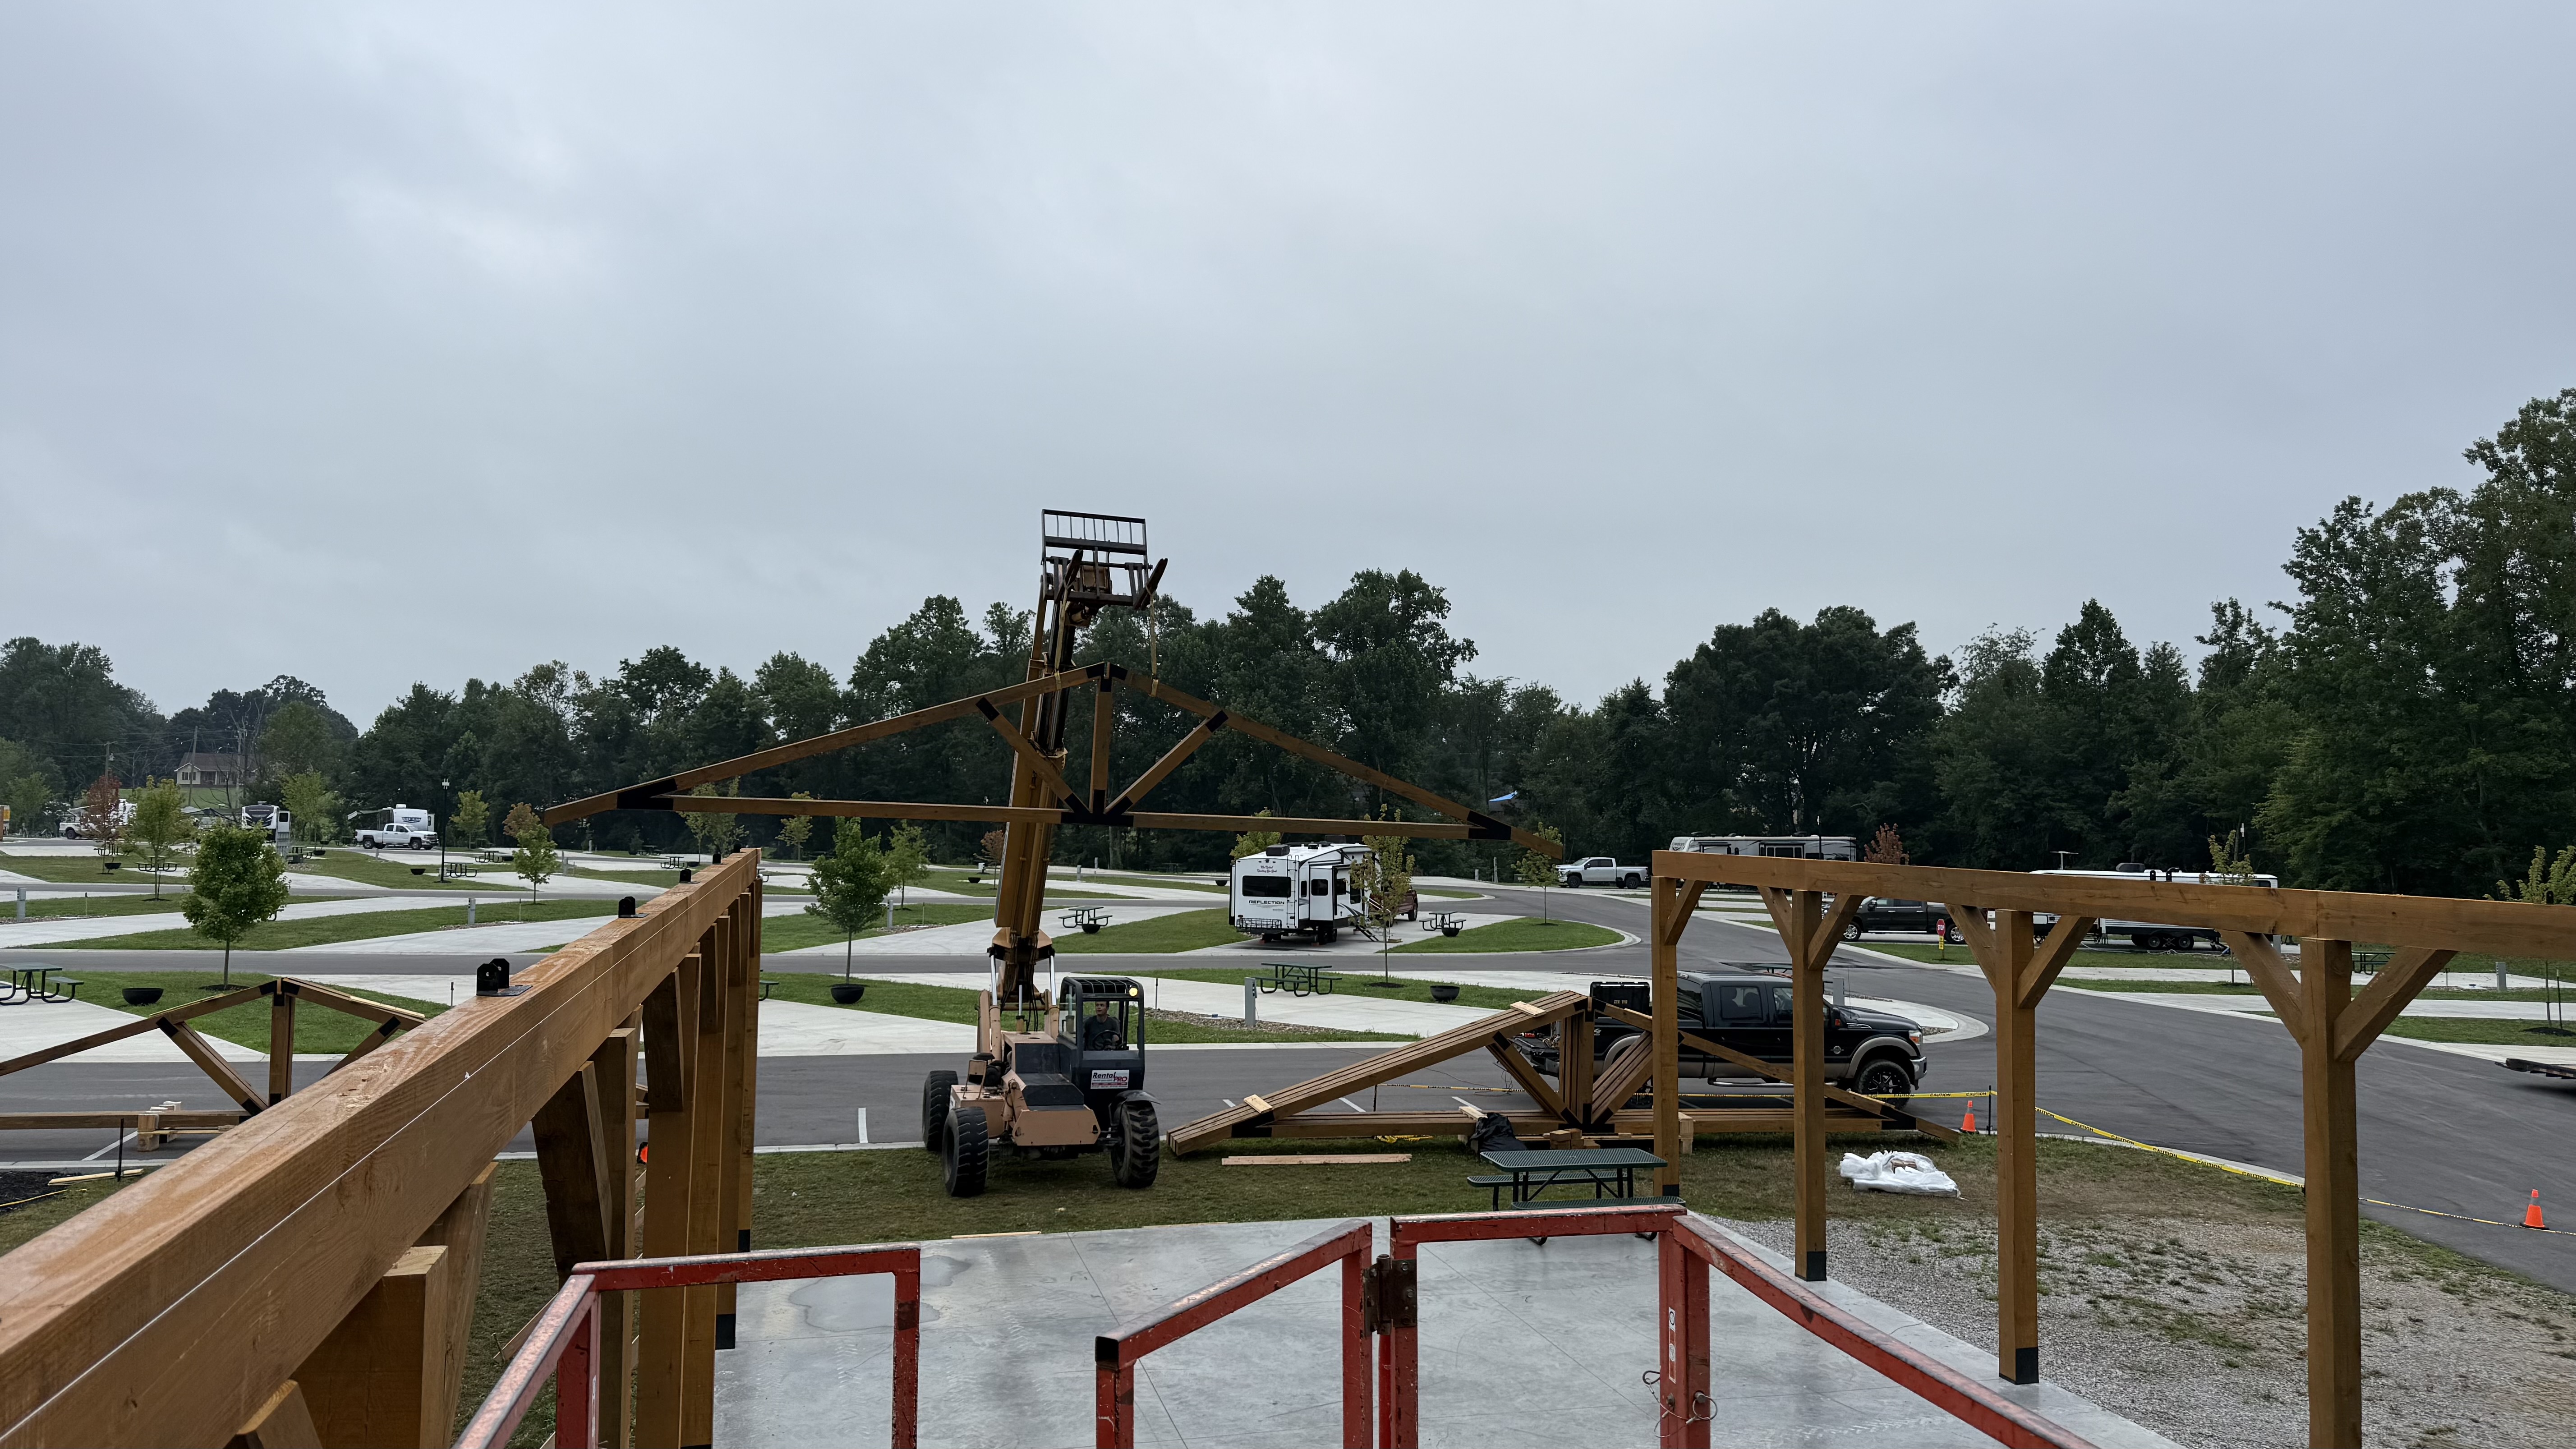
Lifting a preassembled truss
The preassembled truss is lifted onto the prepared frame with suitable lifting equipment.
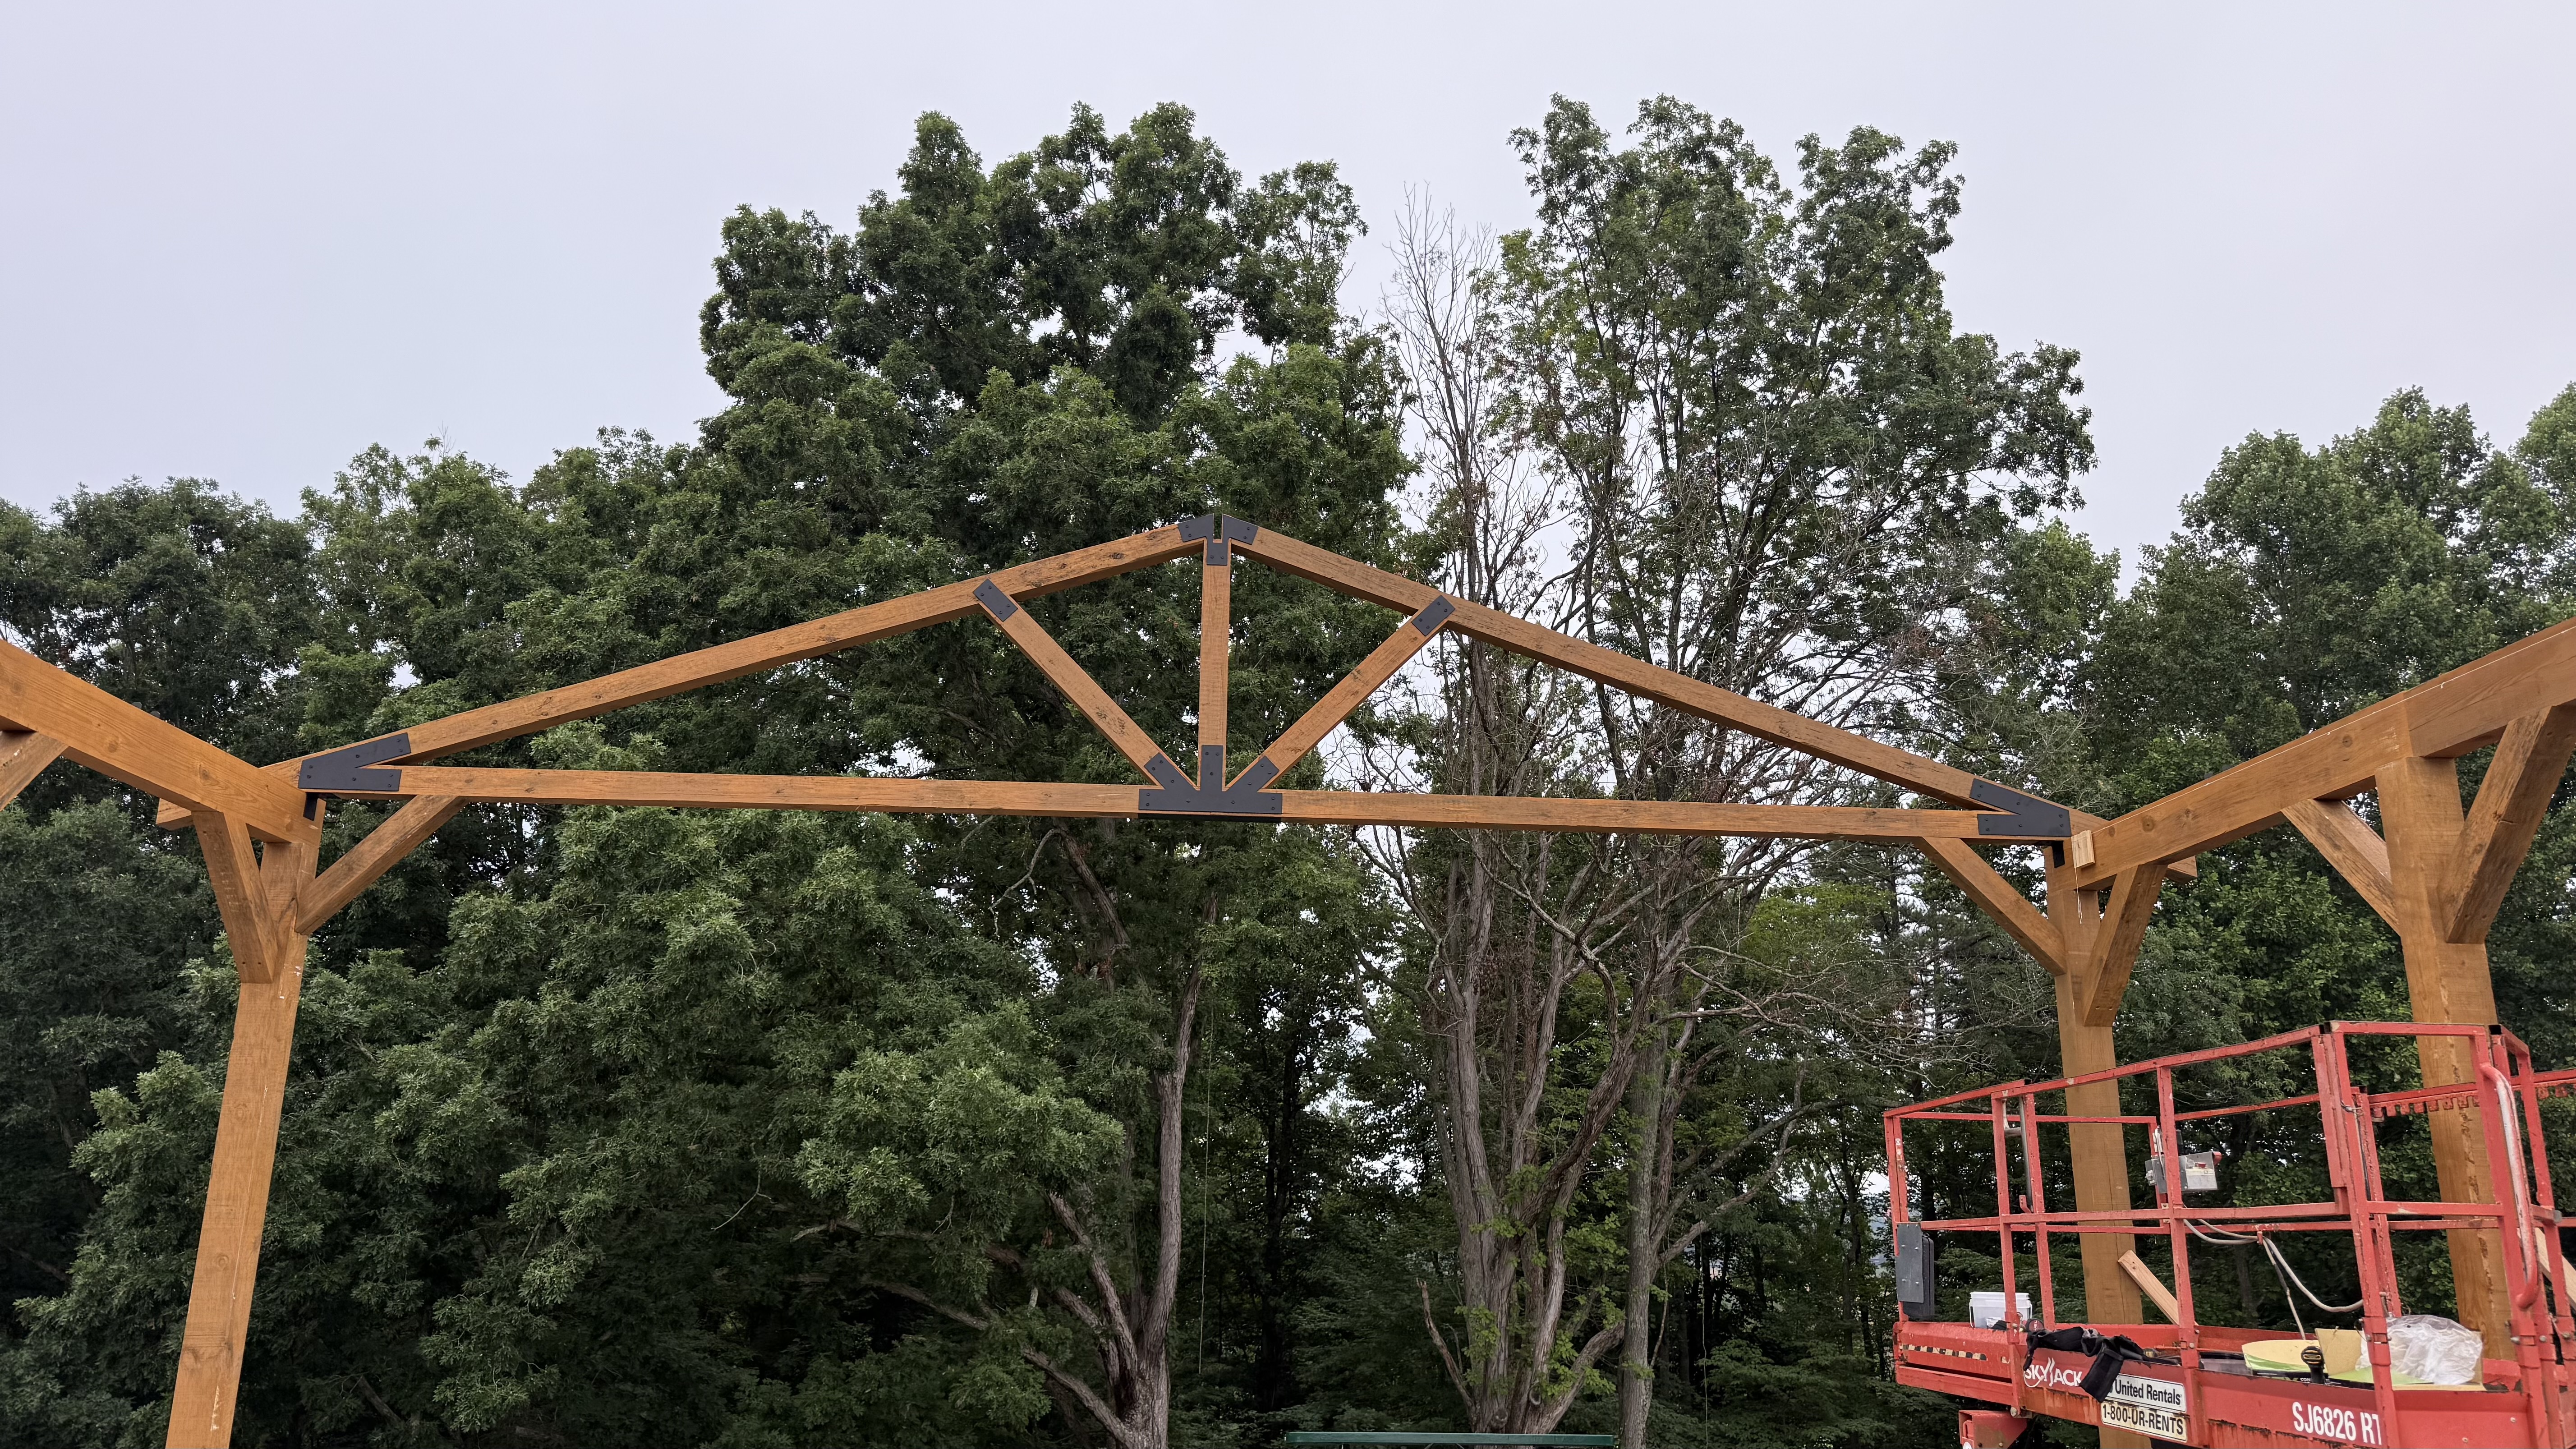
Setting the preassembled trusses
The trusses are set in place and temporarily supported as the frame comes together. Your installation plan covers safe lifting and bracing for your pavilion.
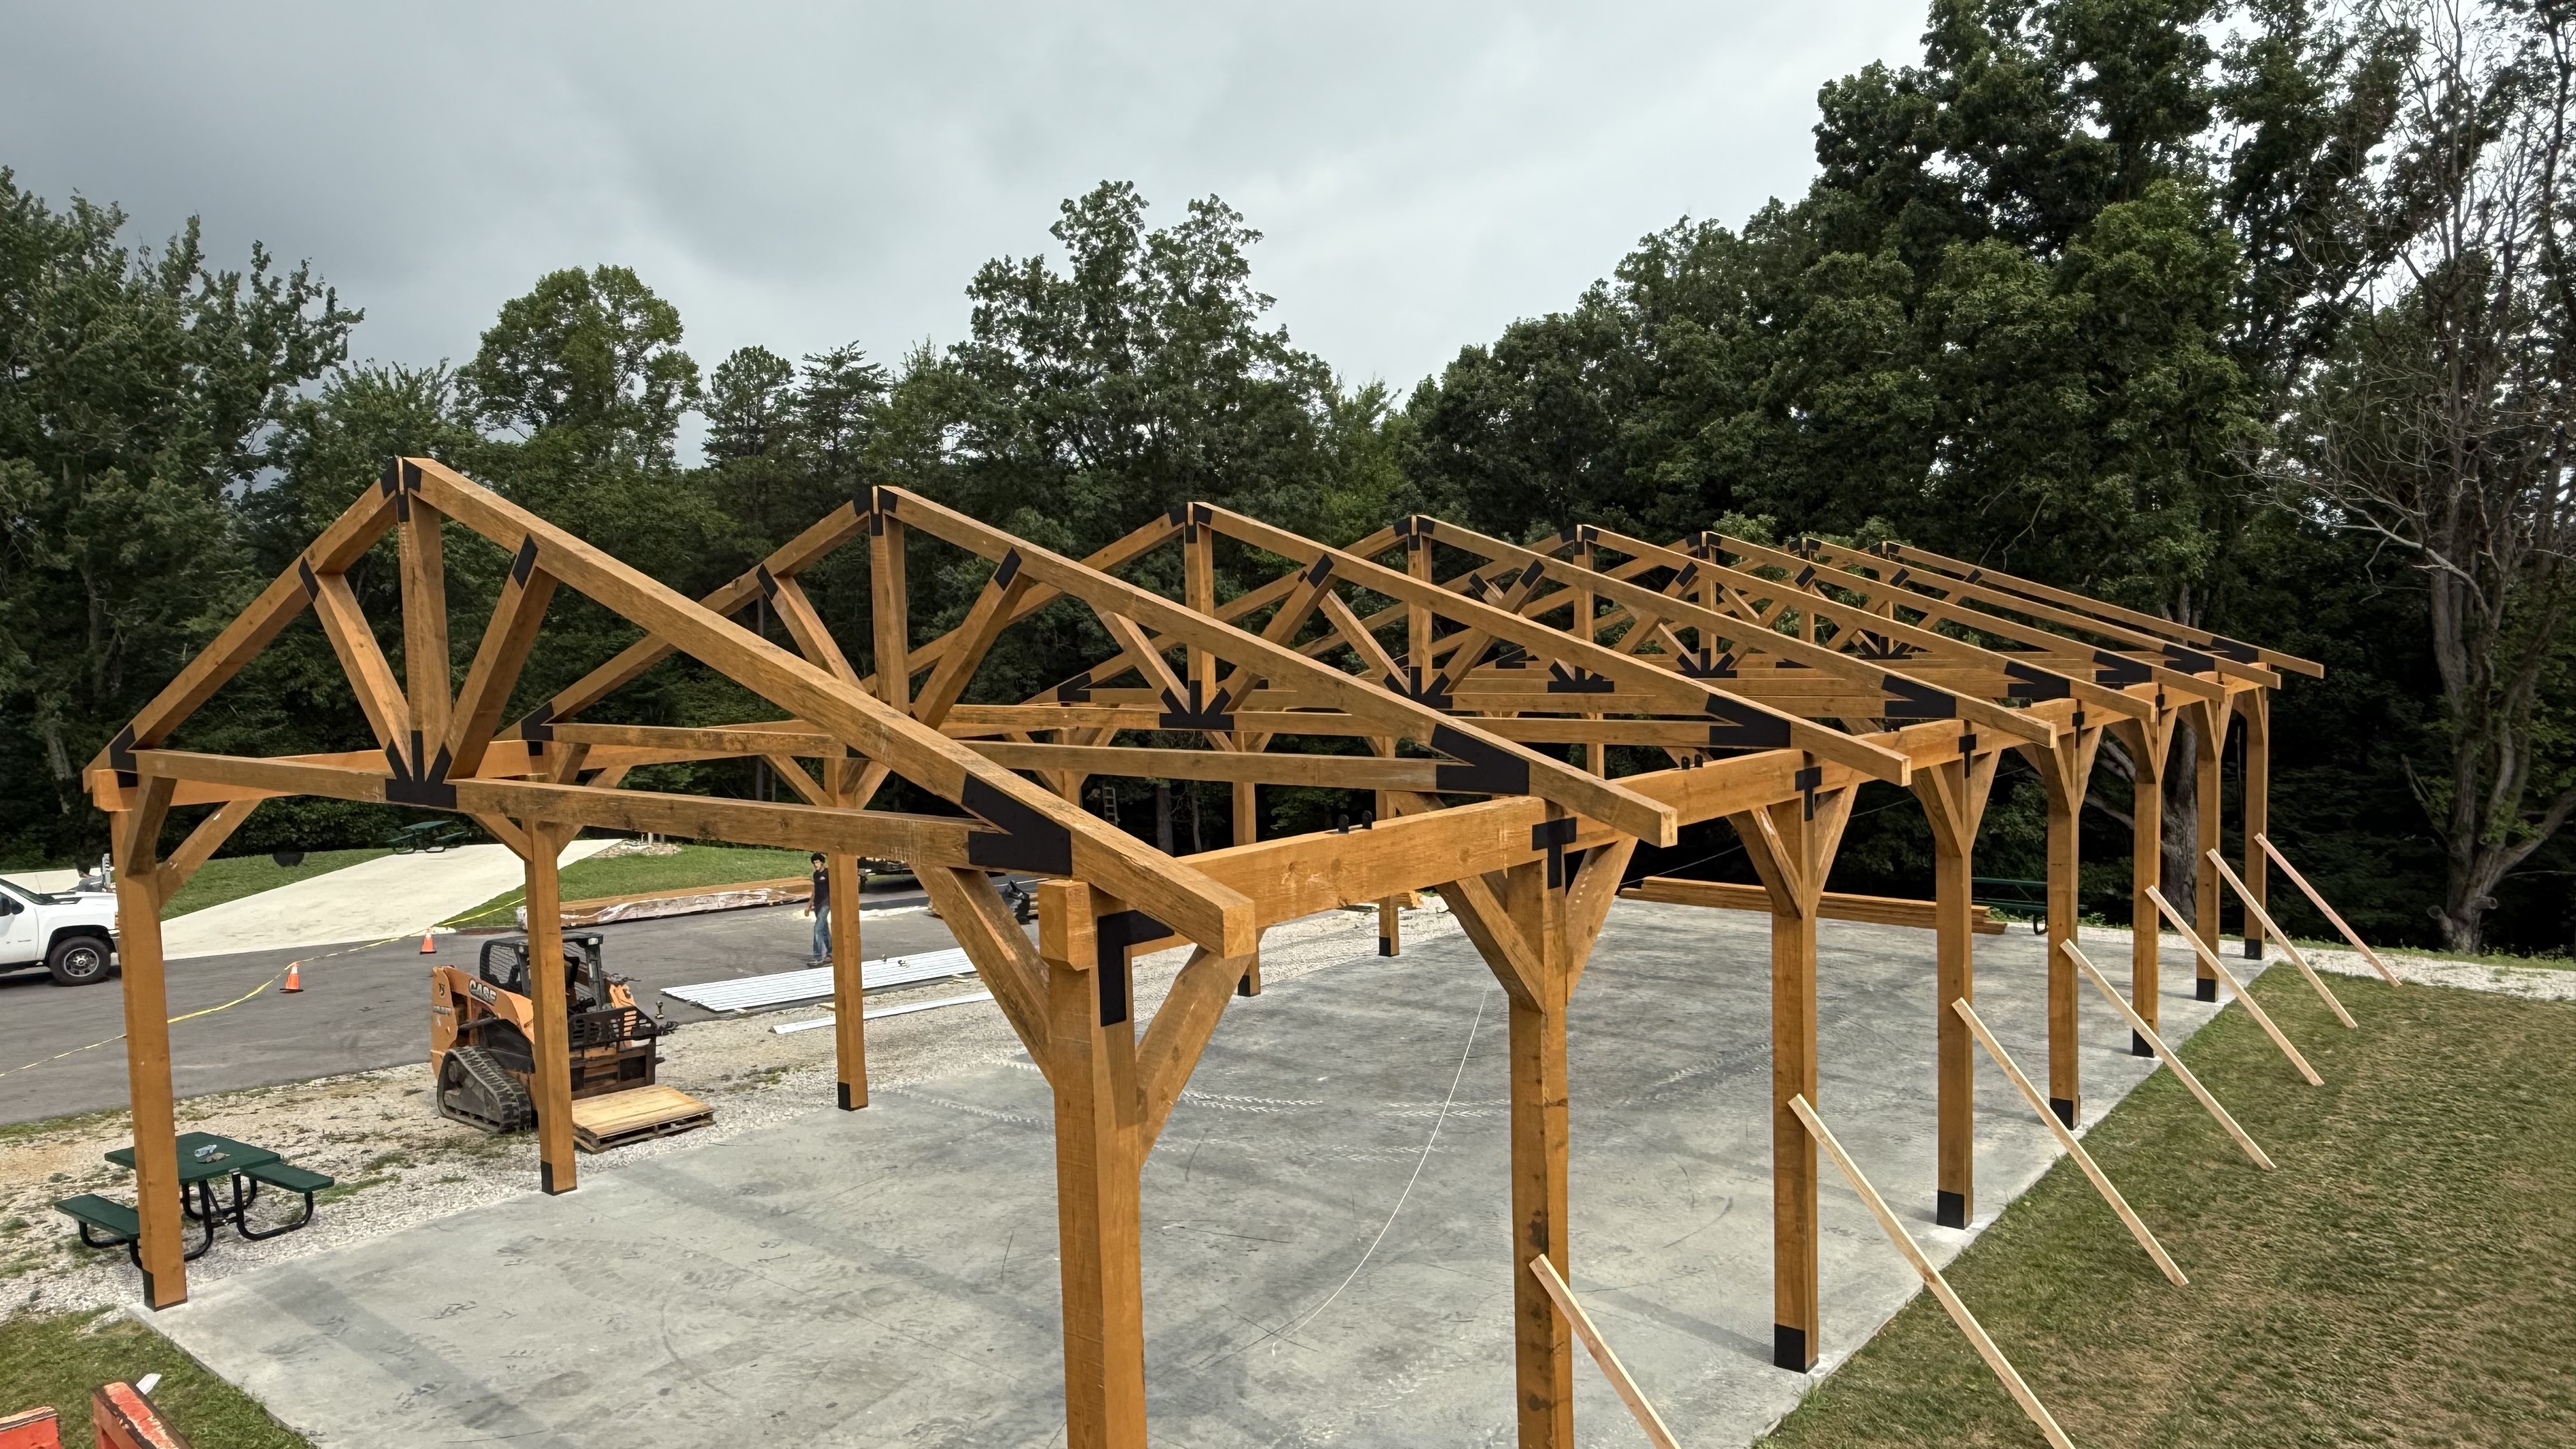
The frame takes shape
With the trusses, headers, and braces in place, the pavilion starts to feel like a gathering space. Temporary supports stay in place during assembly.
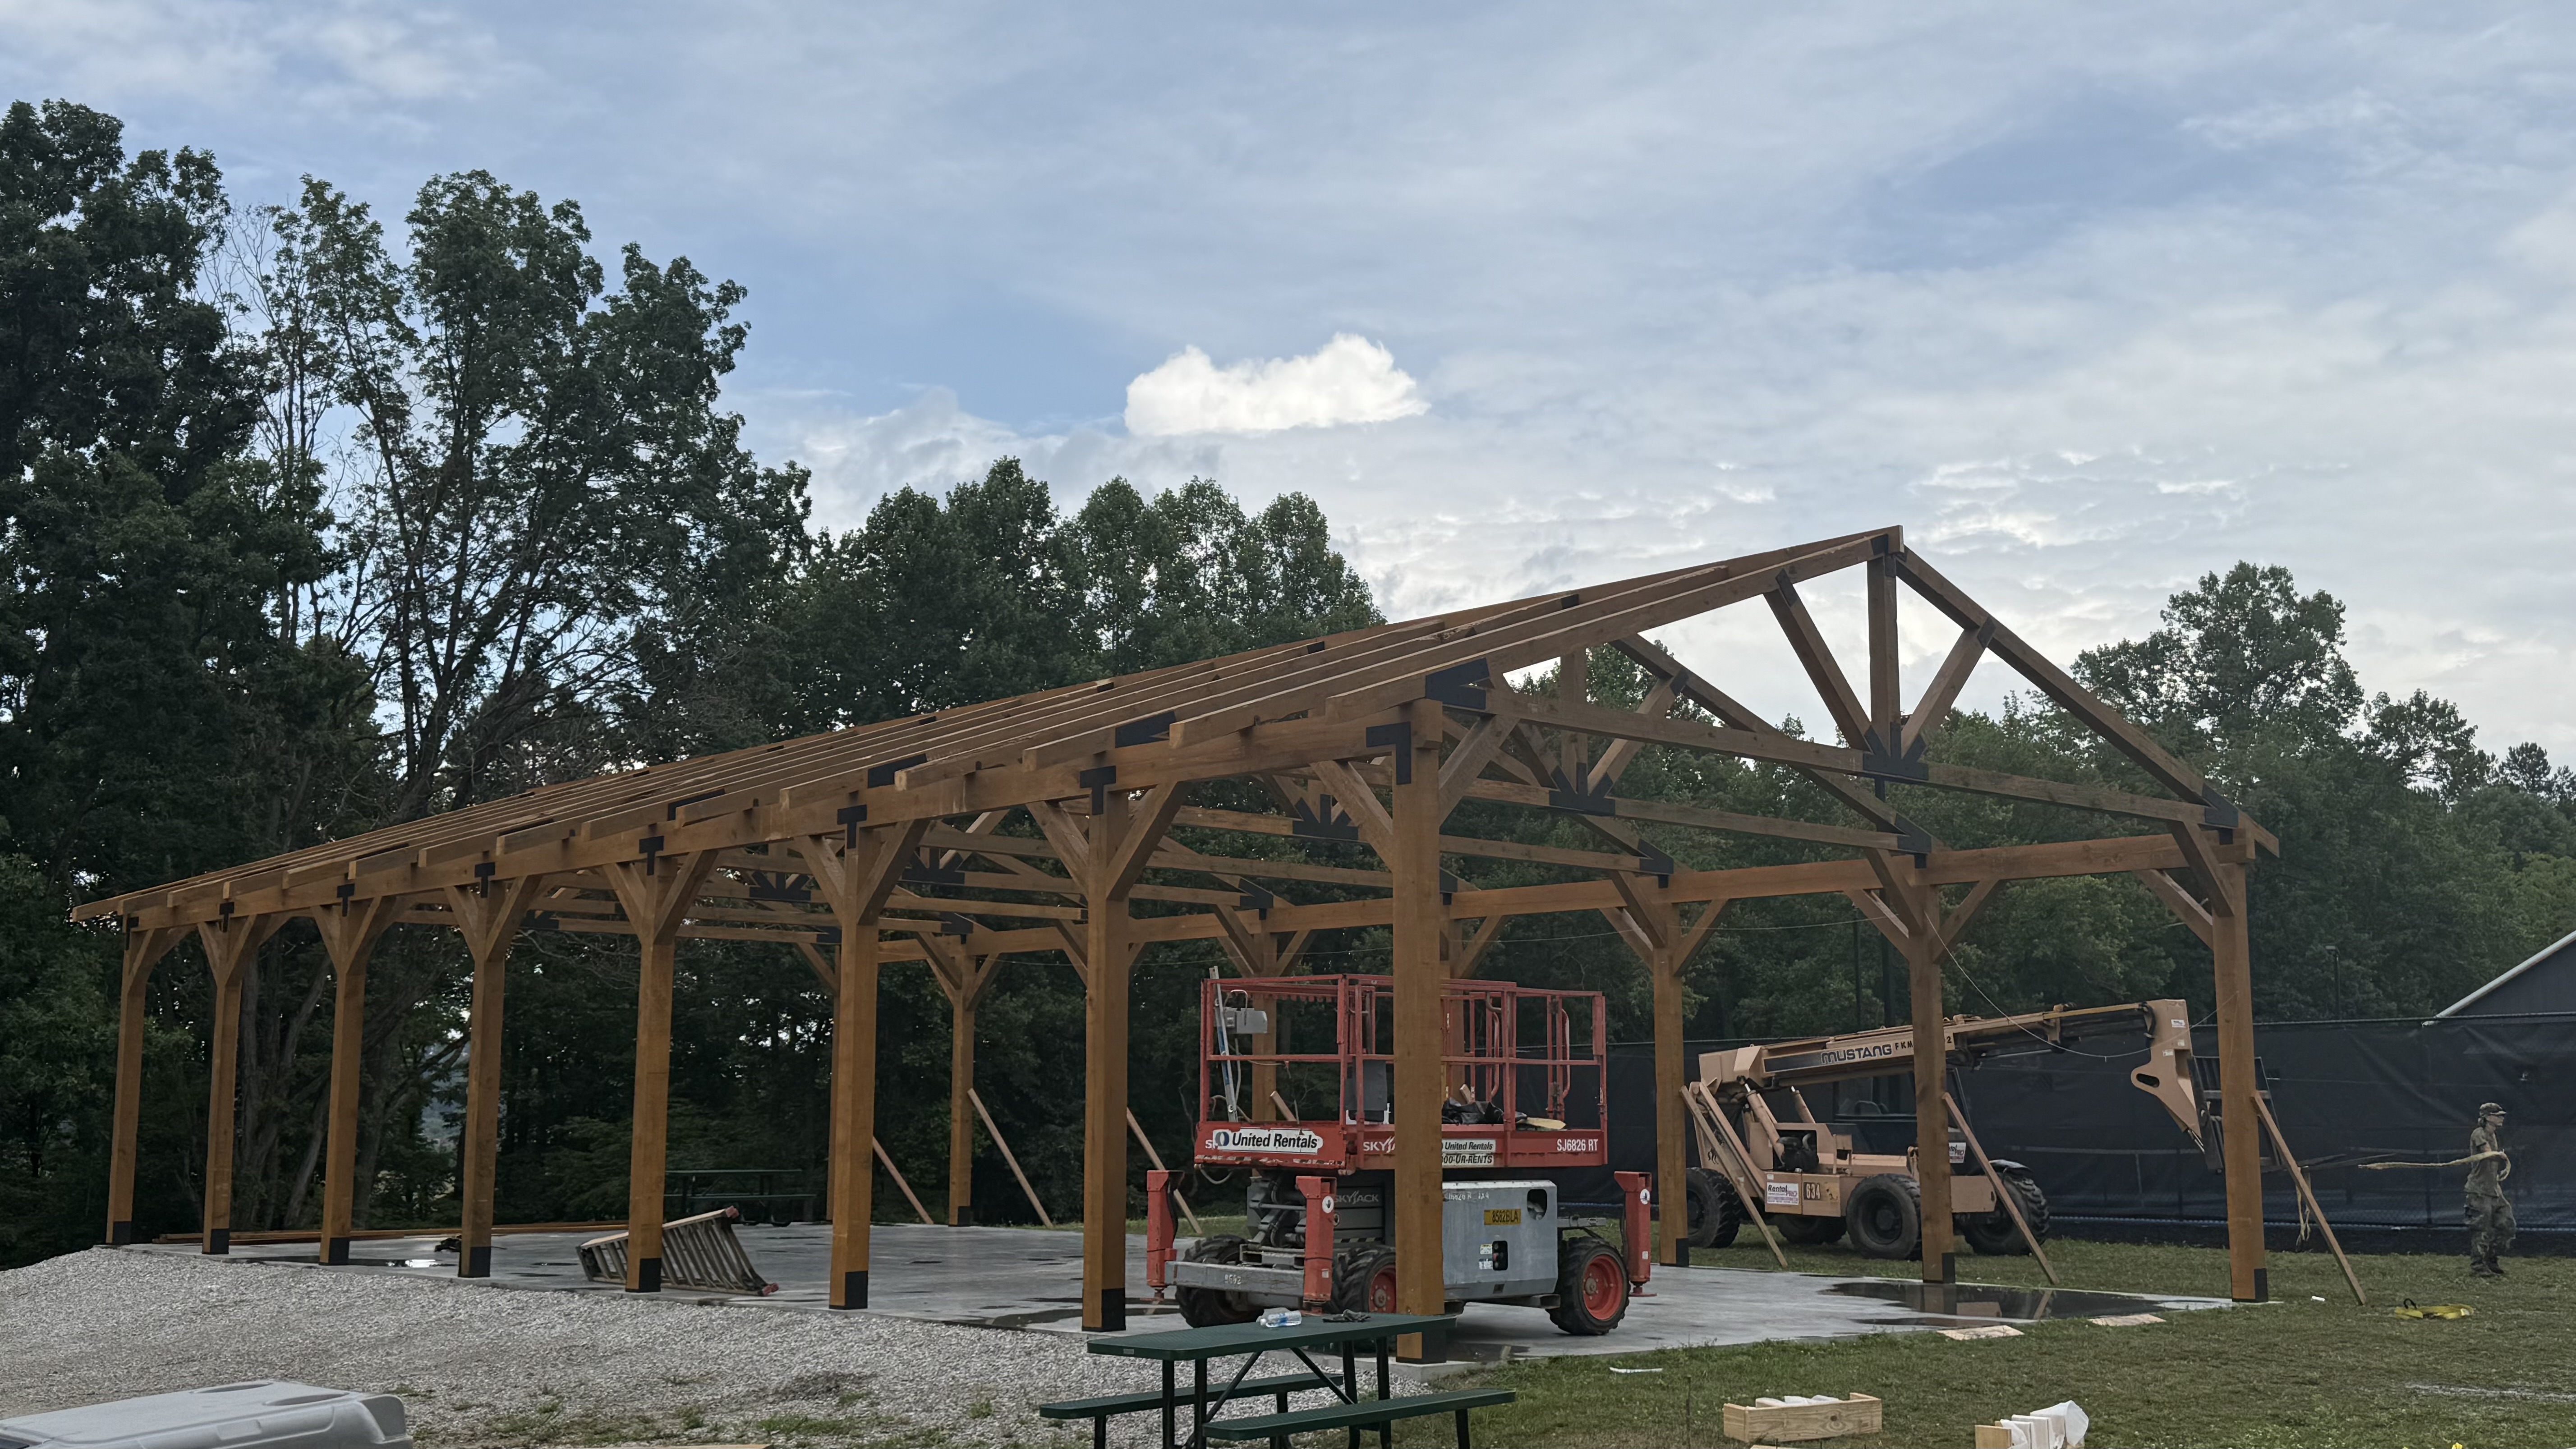
Adding the rafters
Rafters complete the roof framing above the trusses, preparing the structure for decking.
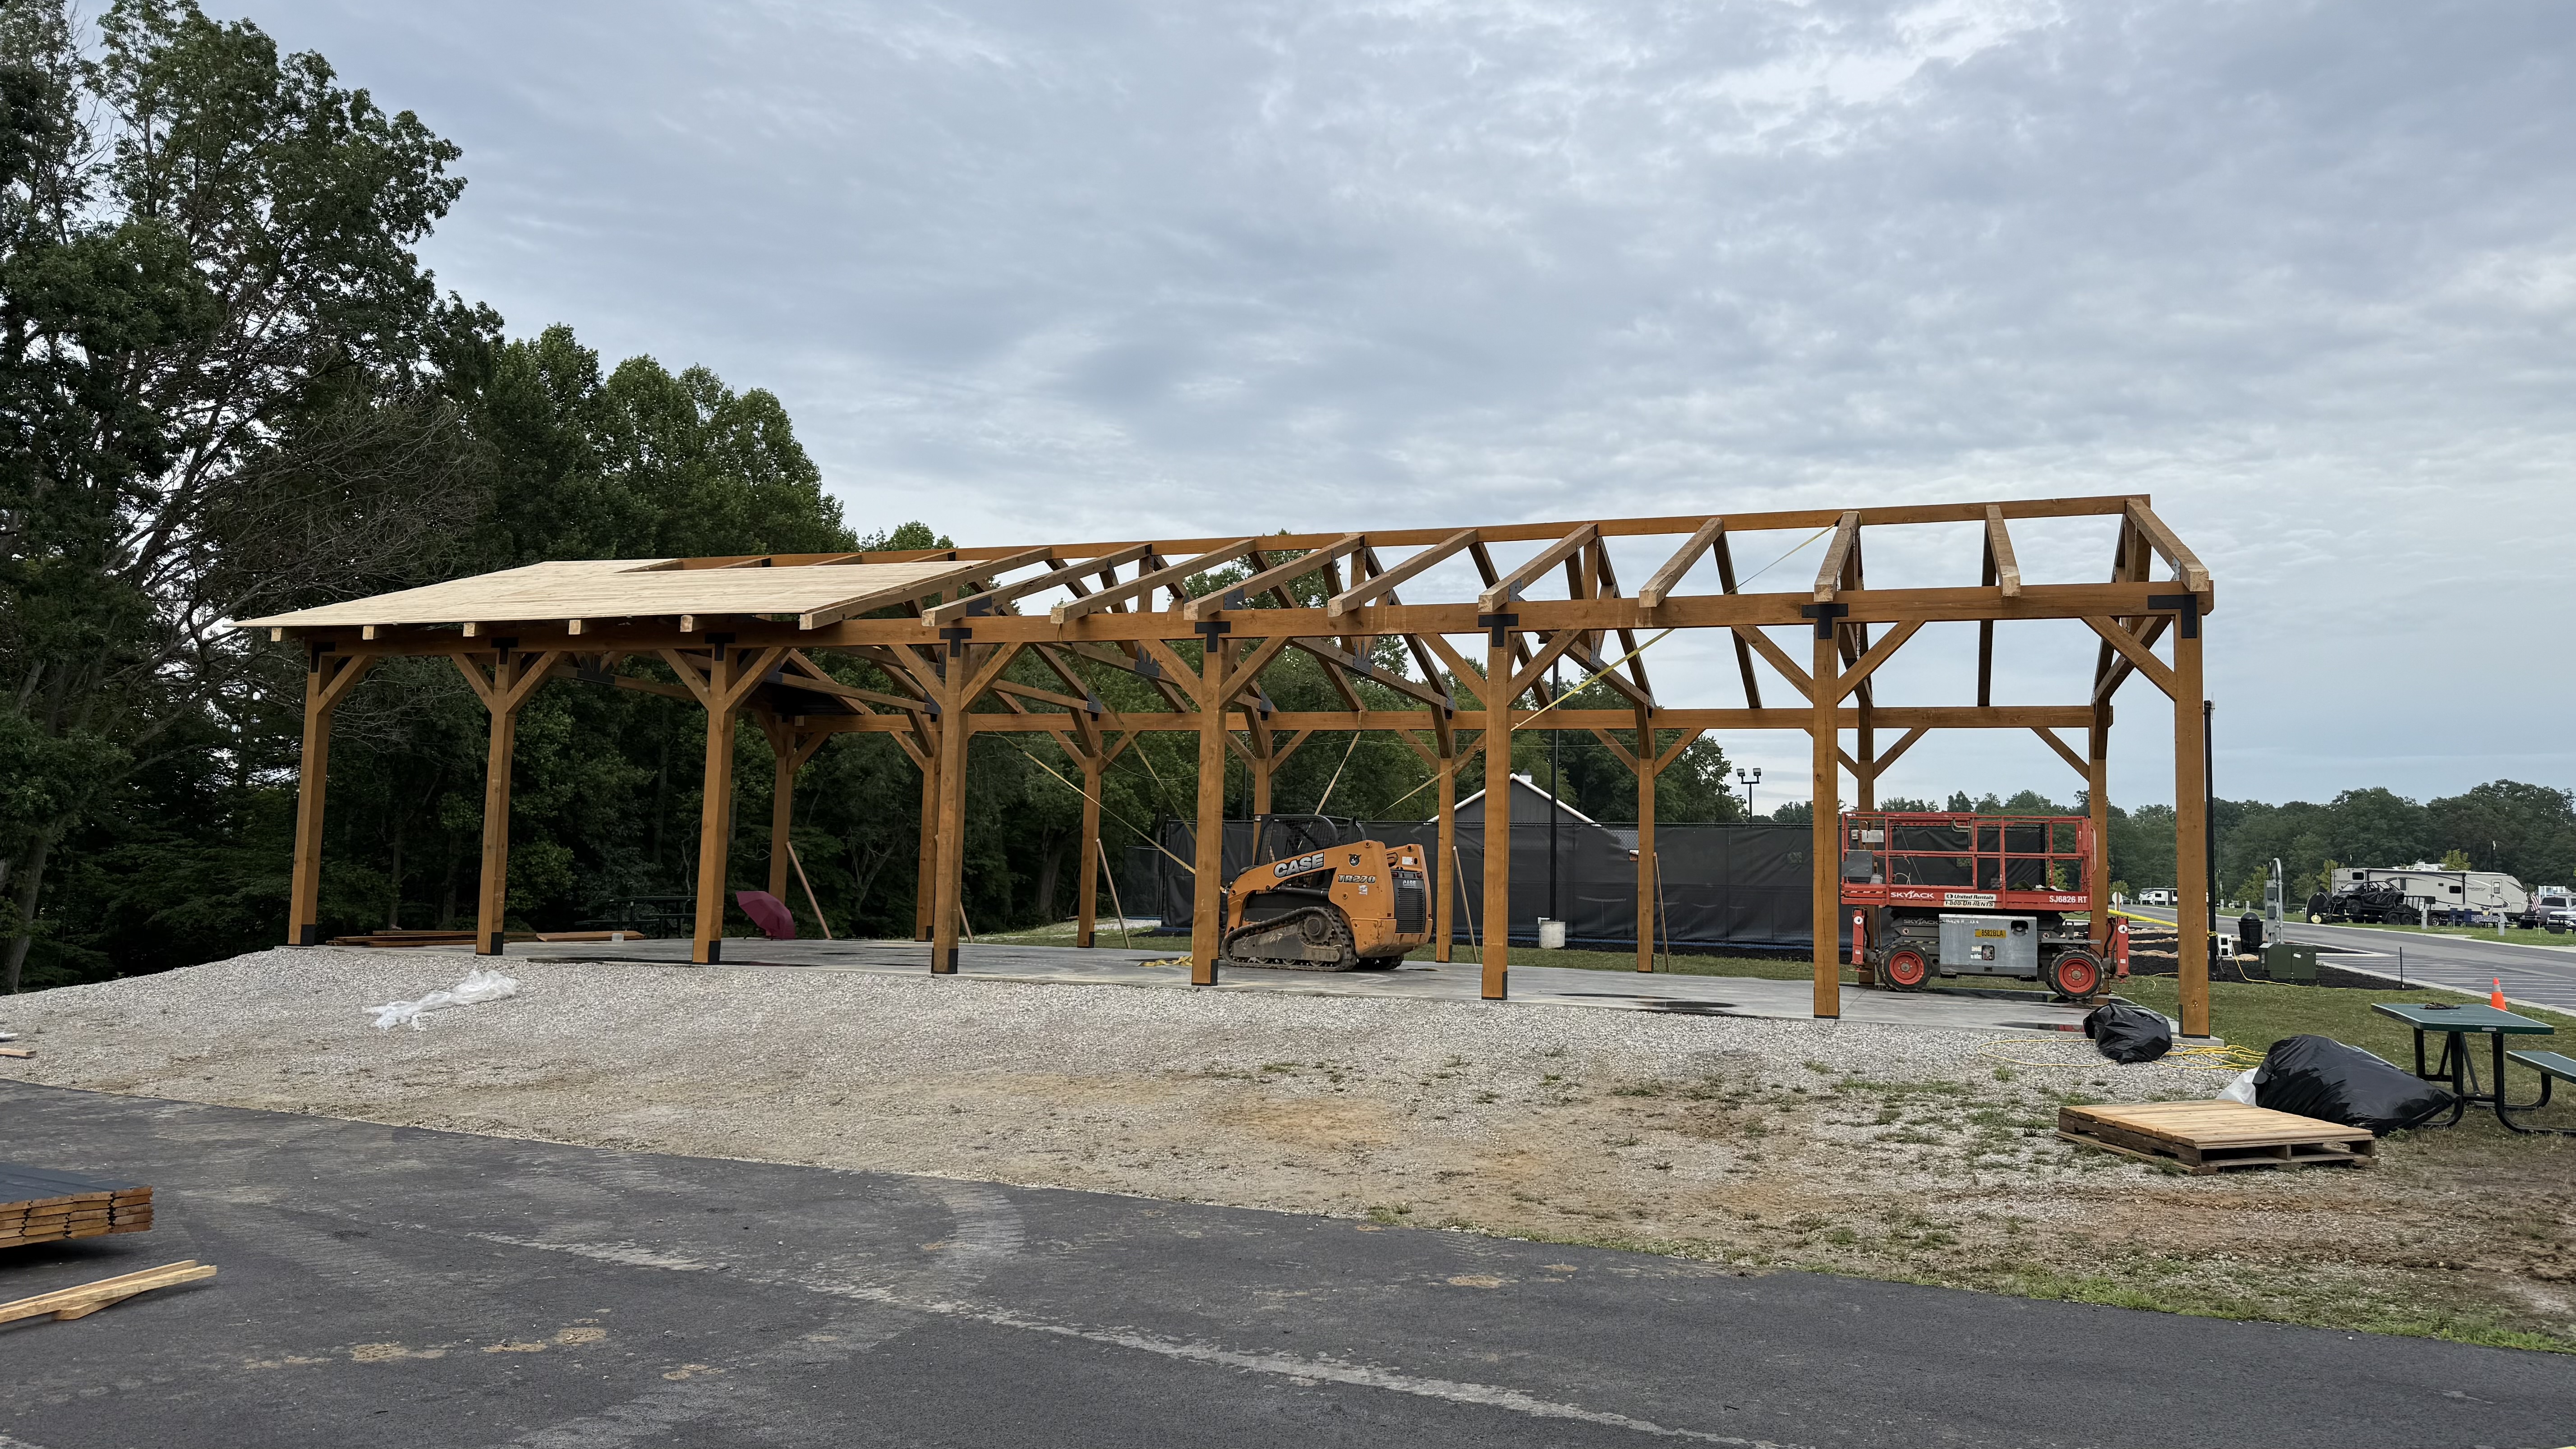
Installing the tongue-and-groove decking
The decking is added over the roof framing. Your kit instructions specify fitting and fastening requirements.
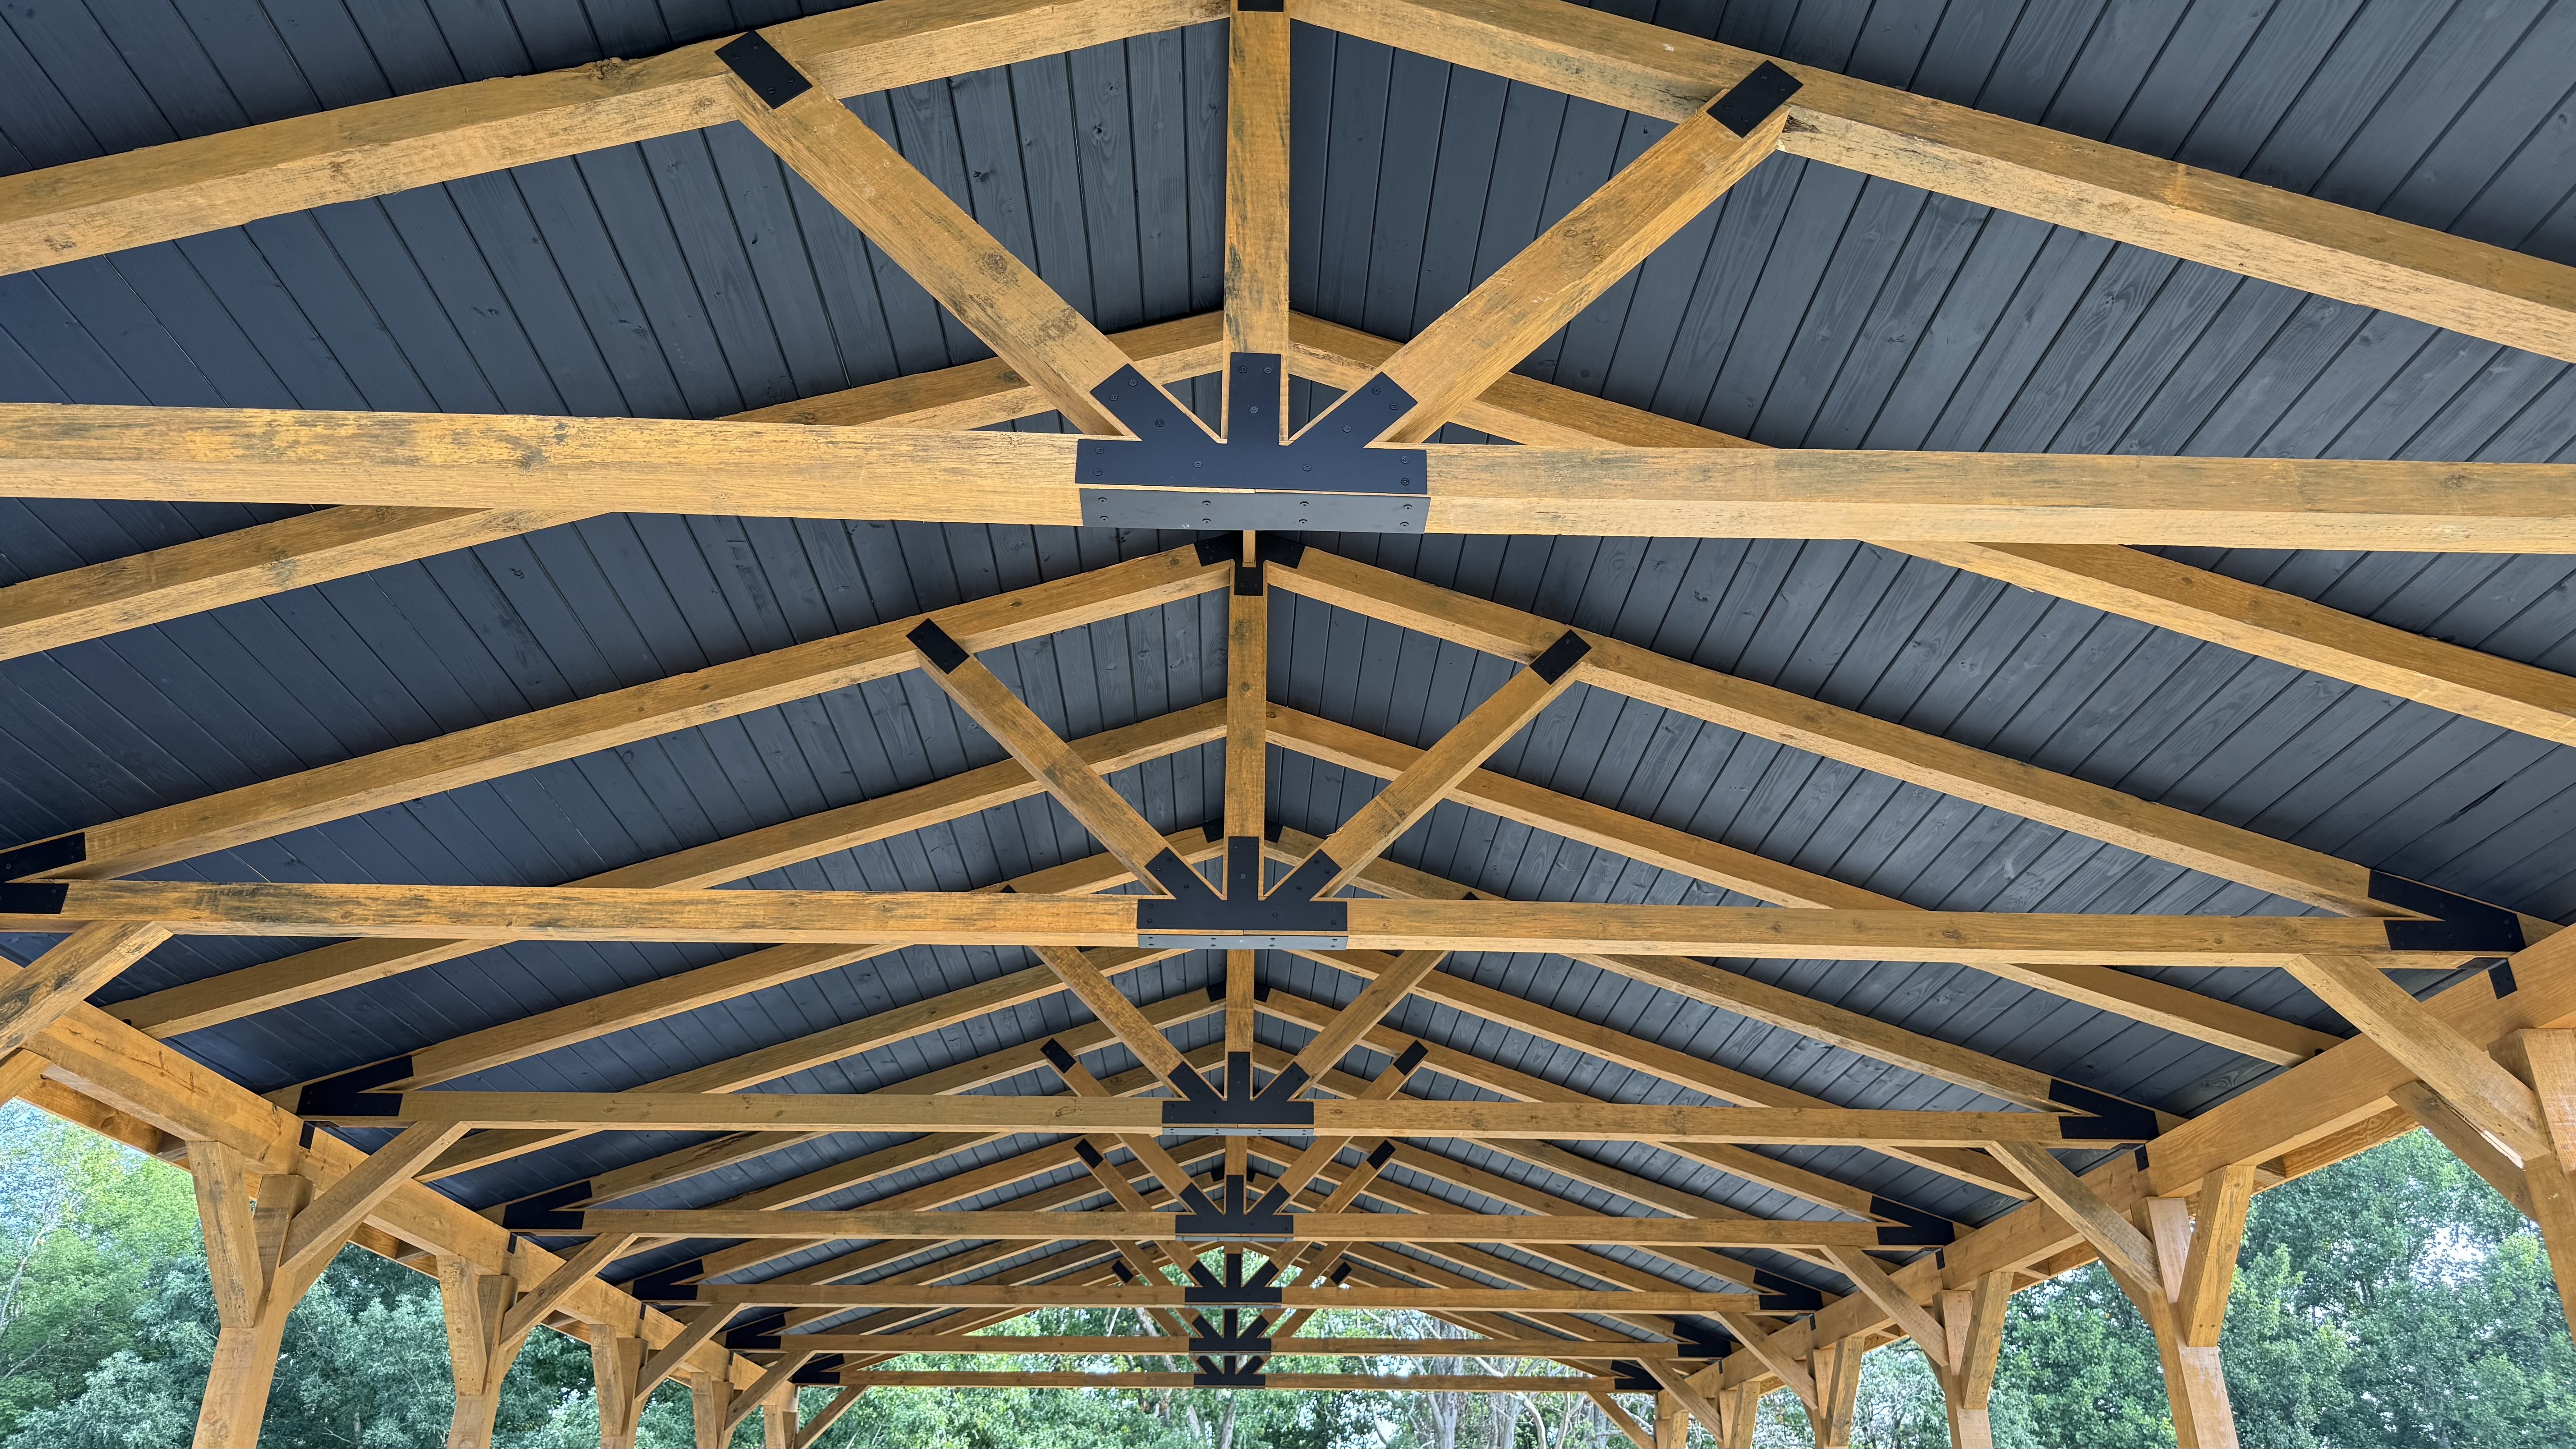
The view from underneath
The finished ceiling brings the roof decking, exposed timbers, and steel connection details together. Finish choices vary by configuration.
Photo overview of one project. Use your supplied installation instructions and approved drawings for assembly.
Installation is quoted for your project.
Installation by Woodland is available within our service area and considered elsewhere on a case-by-case basis. Your sales representative prepares a separate installation quote when we can serve your project. The online kit price does not include installation.
Prepare for installation
Precut components reduce fabrication work, but installing heavy timbers still requires suitable equipment and an organized assembly plan.
- Review your approved drawings and installation instructions.
- Confirm foundation dimensions, post locations, and anchoring requirements.
- Arrange unloading, safe lifting equipment, and the installation crew.
- Inventory the delivered components and hardware.
- Assemble the frame, decking, and roofing according to the supplied instructions.
Equipment for lifting your timbers
Preassembled trusses and heavy timbers need lifting equipment with the right capacity and reach. Common options include:
- Skid steer with a rated boom-pole attachment
- All-terrain forklift or large forklift
- Large tractor with a suitable loader attachment
We can estimate your kit’s weight to help you plan. Arrange equipment and lifting attachments suited to your individual timber lifts and site access.
Crew size and assembly time depend on your pavilion, equipment, and site. Follow the supplied installation instructions and arrange an experienced crew.
We provide installation instructions and phone support so your carpenter can assemble the kit. Woodland installation is available within our service area or on a case-by-case basis; your sales representative will prepare a separate quote when installation is available for your location.
Foundations, permits, and engineering
Start checking HOA approval and permit requirements as soon as possible, before design approval or scheduling construction. Local review may take time. Foundation and anchoring details must suit your pavilion and site conditions.
Confirm requirements with your local permitting authority and project professionals. Share relevant wind, snow, or other design requirements with Woodland before design approval.
Do not pour a foundation or set anchors using the example layout on this page. Use the approved project documents.
Know your connections.
Compare the plates, post bases, and fasteners in your pavilion kit before assembly.
Explore plates & fasteners →